Logo to STL: Turn a Logo Into a 3D Printable Relief
Logo-to-STL works best when you treat the logo as a raised relief, badge, sign, plaque, or keychain, not as a fully sculpted object.
Updated July 28, 2026 · Workflow and slicer decision guide
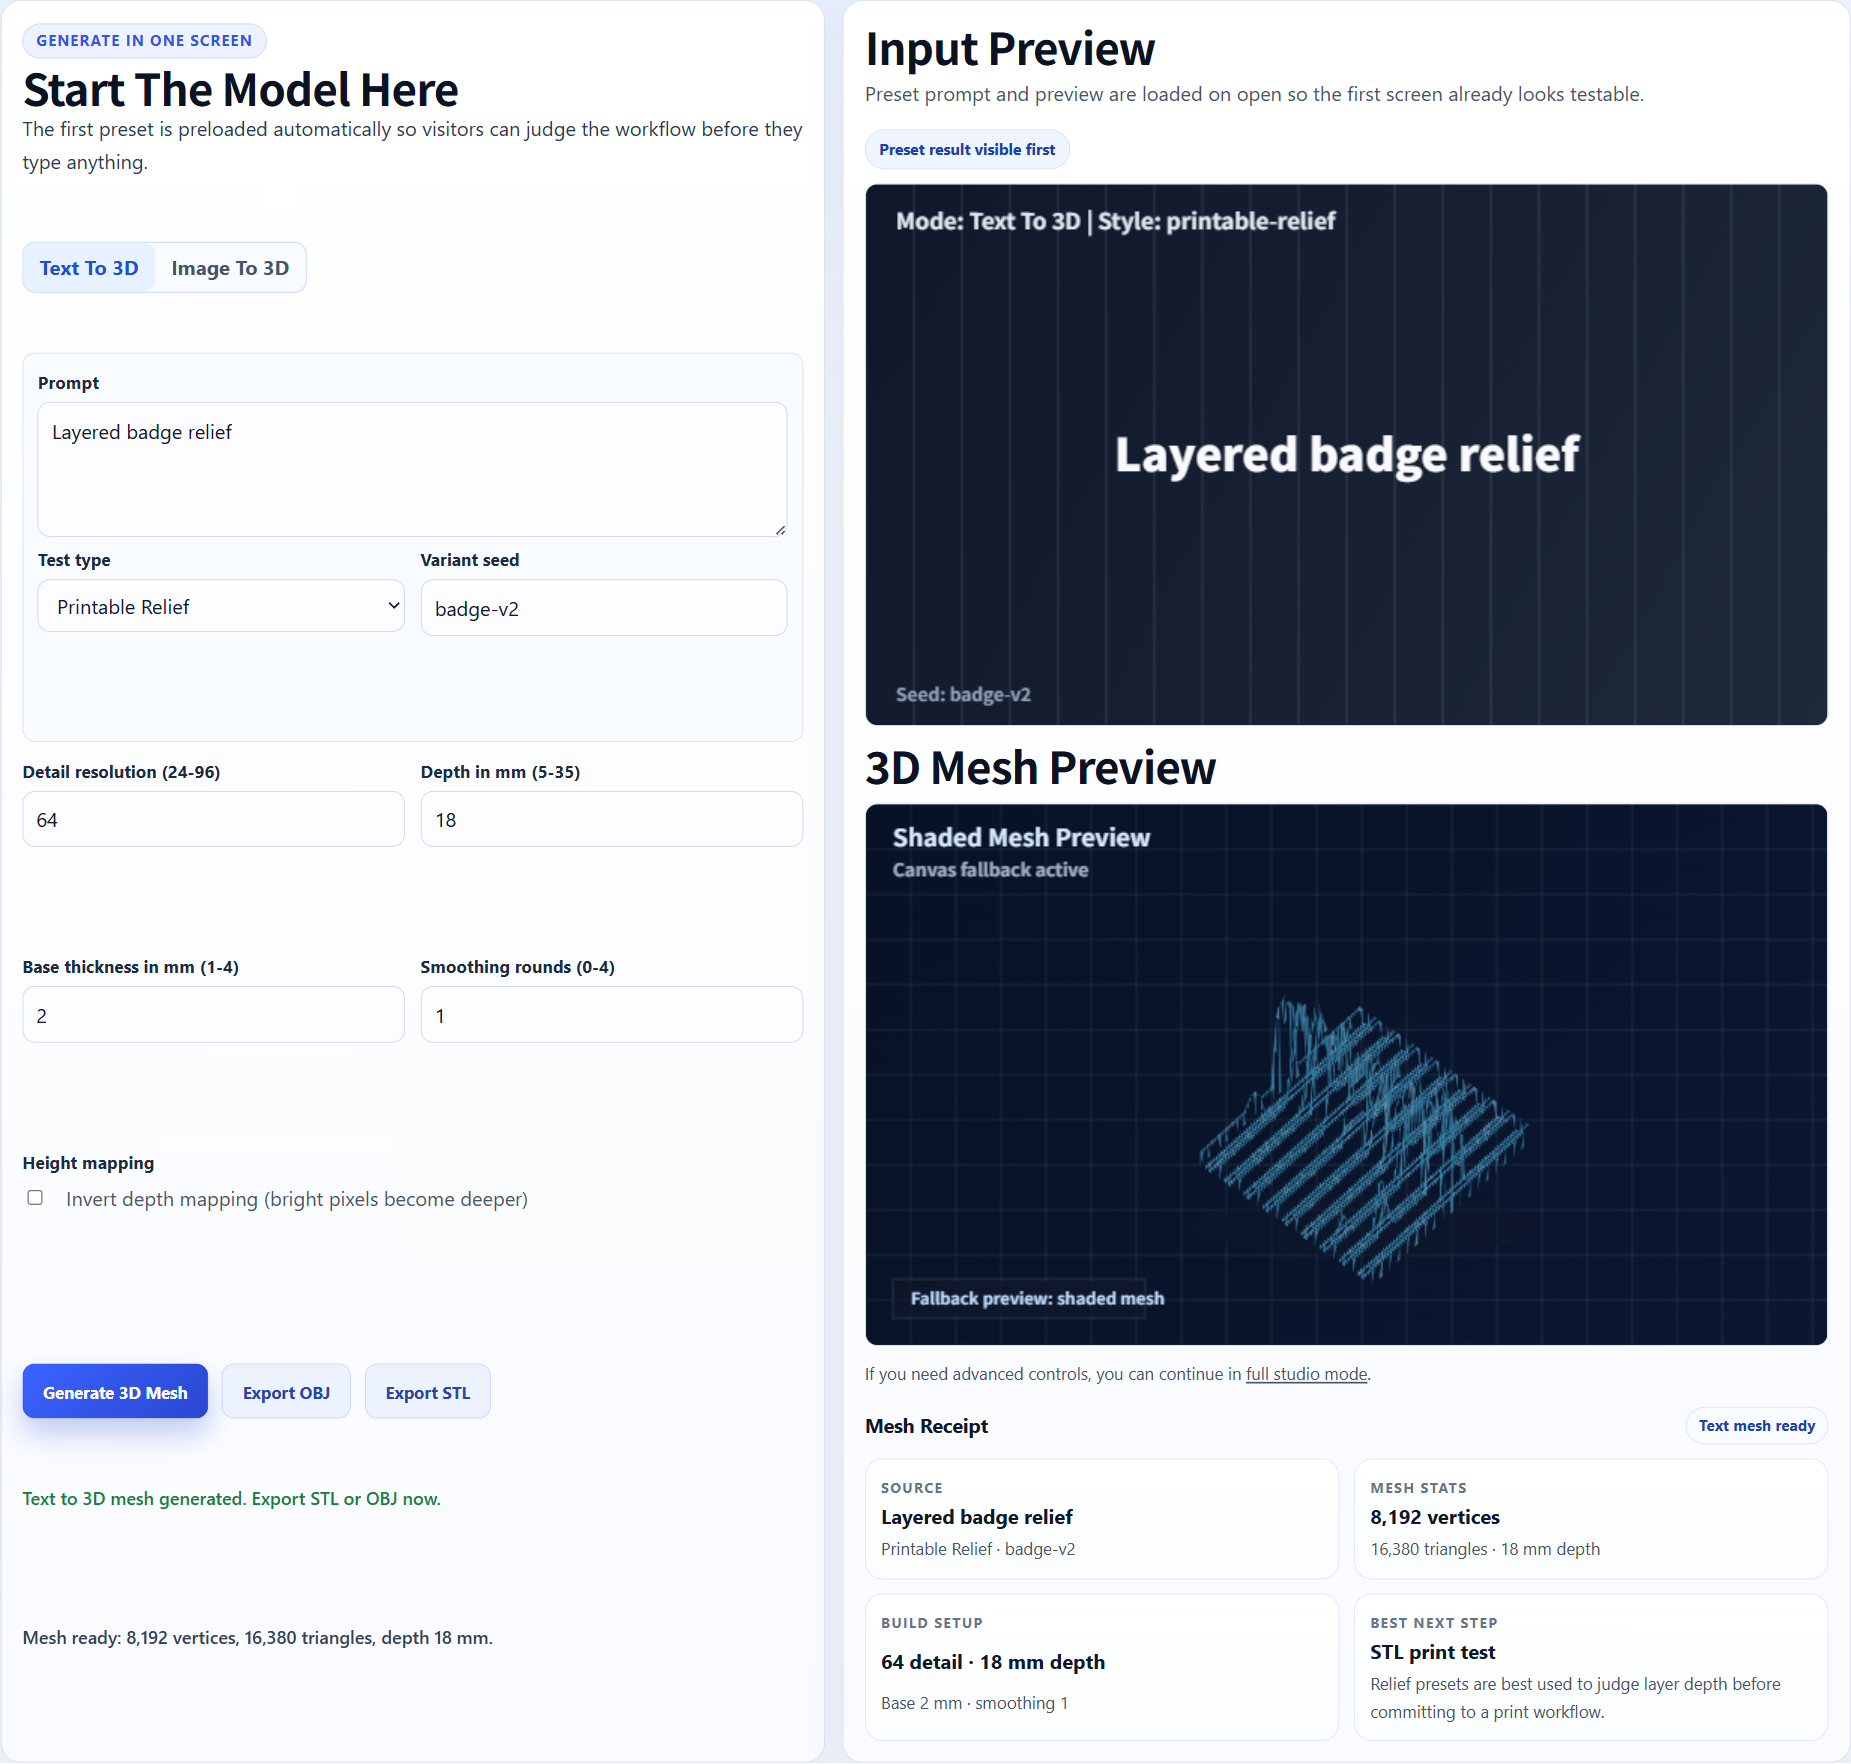
Relief-style output. Logo-to-STL is usually strongest for bold emblems, signs, badges, plaques, keychains, and simple raised shapes.
Direct answer
To convert a logo to STL, start with a high-contrast logo image, generate a raised relief or simple 3D shape in Image3D, export STL, then check wall thickness, base thickness, small text, and disconnected islands in a slicer.
How can I convert a logo image into an STL file for 3D printing?
The practical workflow is: clean the logo, simplify tiny details, generate a relief-style 3D draft, export STL, then inspect the file in a slicer before printing. Image3D is useful when you want a fast logo-to-STL candidate from a PNG or JPG, while vector extrusion or CAD is better when the logo must be dimensionally exact.
| Best input | High-contrast PNG, SVG-style artwork, thick strokes, simple background. |
| Main risks | Tiny text, thin strokes, floating dots, jagged JPG edges, weak base thickness. |
| Print check | Open the STL in Cura, PrusaSlicer, Bambu Studio, or OrcaSlicer and check layer preview. |
Choose AI generation, vector extrusion, or CAD before you start
The fastest route depends on what must stay exact. An AI-generated mesh is useful for testing a relief idea quickly, but it can reinterpret typography, curves, spacing, and small negative areas. A vector or CAD workflow takes longer to set up and gives you more control over the final geometry.
| Route | Use it when | Stop or switch when |
|---|---|---|
| AI relief draft | You need a fast badge, plaque, sign, token, or keychain concept from a clean image. | Letters, spacing, or small islands must match the source exactly. |
| Vector extrusion | You have clean paths and need crisp logo outlines or exact typography. | The result needs complex sculpted depth rather than a controlled relief. |
| CAD rebuild | Dimensions, holes, connectors, tolerances, or repeatable manufacturing geometry matter. | You only need a quick visual draft and no physical dimension is fixed yet. |
1. Decide whether the logo should be a relief, sign, or keychain
A logo is usually a flat graphic. That means the most reliable 3D printing workflow is not full freeform reconstruction. It is relief modeling: raised letters, recessed areas, a base plate, or a thick outline that can survive slicing. This works well for brand badges, desk signs, wall plaques, keychains, tokens, labels, and simple emblems.
If the logo contains gradients, shadows, tiny typography, hairline strokes, or photographic textures, simplify it before upload. A high-contrast black-and-white version is often better than the polished marketing version.
2. Prepare the logo image
Use a clean PNG or SVG-style export with a transparent or plain background. Keep strokes thick and avoid tiny disconnected dots. If the logo includes text, make sure the letters are large enough to print at the final scale. A letter that looks readable on screen may disappear in a slicer if the stroke width is too thin.
For best results, create one image with the logo centered and no surrounding mockup. Do not upload a photo of the logo on a shirt, business card, or product box unless the whole object is what you want to model.
3. Generate a relief and export STL
Upload the logo image to Image to STL Generator. After generation, inspect whether the raised areas match the logo and whether small islands stayed connected. If the model creates too much sculptural interpretation, simplify the source image and regenerate.
When the relief looks coherent, export STL. Remember that STL does not include colors or textures. If you need a colored web preview, export GLB instead. If you need a printable badge, STL is the right next step.
Logo-to-STL slicer checklist
- Base thickness is strong enough for the print size.
- Raised logo height is visible but not fragile.
- Text strokes do not disappear in layer preview.
- Small dots or islands are connected or intentionally removed.
- Edges are not too jagged from a low-quality JPG.
- The logo remains readable after support and orientation choices.
Worked example: a wordmark badge with a detached dot
Input: a black wordmark on a plain background, including one small dot above a letter. First draft: the main letters form a usable relief, but the dot becomes a separate island and disappears in the slicer preview.
- Remove the tagline and any decorative shadow from the source image.
- Increase the small dot or connect it to the nearest letter with a deliberate bridge.
- Generate one new draft and compare the silhouette before exporting again.
- Open the STL in the slicer, inspect every layer around the dot, and stop if it is still detached or thinner than the rest of the mark.
Decision: keep the AI draft when the corrected badge slices as one readable piece. Switch to vector extrusion when exact letterforms or spacing still drift after one clean retry.
4. Know when to use manual cleanup
Simple marks can work directly. Complex logos often need cleanup. Manual work may include thickening strokes, joining islands, flattening the back, adding a base, correcting scale, or rebuilding the relief from a vector source. That is normal for 3D printing because the physical model needs stronger geometry than the 2D graphic.
If the generated result is close but fragile, use Printable Model Fix rather than repeatedly spending credits on the same complex logo.
Related Image3D pages
- Image to STL generator
- 3D print from image
- Image to STL printing checklist
- Check image-to-STL in Bambu Studio
- Image to GLB generator
- Printable model review
FAQ
Can I convert a PNG logo to STL?
Yes. A clean high-contrast PNG can work, especially for raised relief, badges, signs, and keychains.
Is SVG better than PNG?
SVG-style artwork usually has cleaner edges, but Image3D works from images. A sharp PNG with clear edges is a good upload format.
Why did my text disappear in the slicer?
The text strokes are probably too thin for the chosen print scale. Increase the final size, simplify the logo, or thicken the text before generation.
Should a logo STL be watertight?
For printing, yes, the final mesh should slice cleanly. AI-generated relief models may need repair before they are reliable.
Can Image3D make a colored logo model?
Use GLB for colored web previews. Use STL when the goal is 3D printing, then handle color through filament, painting, or multi-material workflows.
When should I use vector or CAD instead of AI logo-to-STL?
Use vector extrusion or CAD when exact typography, dimensions, edge geometry, hole placement, or manufacturing repeatability matters. Use AI generation for a fast relief-style draft that you will inspect and, if needed, clean up.